

People love to get a facial at a spa from experienced personnel but they are costly and take a lot of the client’s time. However, it is worth stating that the version of the facial here provided can be easily mimicked with easy to acquire ingredients and implements at home. This is how you can pamper yourself with a relaxing at-home facial to give your skin and your soul the boost they need.
Step 1: Are you ready to set the atmosphere for your life’s visions and dreams?
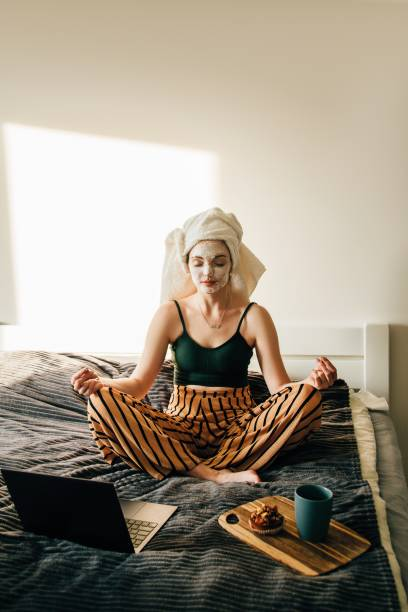
For the first step of a face that resembles a spa experience that can be done at home, one should prepare the right ambiance. Find a room or area where there is no interruption or people that could interfere with you and turn off the lights, have some good music on and use scented candles. Sometimes, a few drops of lavender or eucalyptus in the diffuser can help one get the best feel of the relaxation process.
Step 2: A collection of species to be used Assemble the gear
- For a comprehensive DIY facial, you’ll need the following supplies:
- Gentle cleanser
- Exfoliator
- A facial steamer or bowl of hot water and a clean washcloth
- Protective mask either homemade or purchased from the stores.
- Toner
- Serum
- Moisturizer
- Facial oil (optional)
- Soft washcloths
- Headband or hair tie
- Small saucer and spoon (if the homemade face mask is to be made)
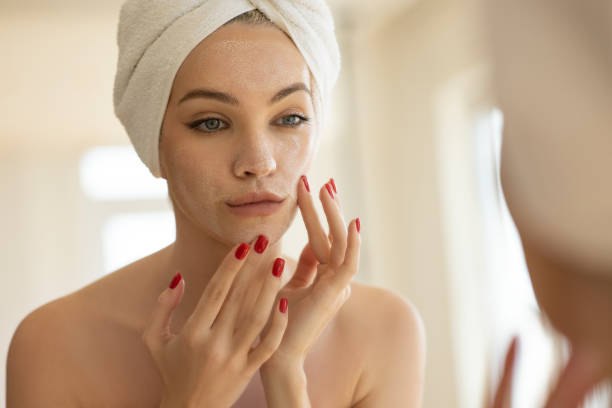
Step 3: Cleaning Your Skin
First and foremost, the face should be properly washed to eliminate any cosmetics, dust and other unwanted substances on the skin. Choose a soap that will meet the skin type; it should not be very harsh as this will damage the skin. Wash it gently in circular motion and rinse with the lukewarm water only. Wipe your face with a towel.
Step 4: Exfoliate
Exfoliation prepares skin to better accept what is applied next by washing off the debris that has sloughed off the skin’s surface. Select the right scrub for your skin; this may in the form of a physical scrub or a chemical one with AHAs/BHA. Apply a circular motion where you use the exfoliator on your skin for approximately a minute and wash off with warm water.
Step 5: Steam
Steaming your face softens the skin on your face and allows any further applied mask to have better access to the skin and remove all make-up in the process. In case you do not own a facial steamer, water in a bowl that has been heated is efficient in the same way. Place a towel over your head and bowl and lean over the bowl and cover your face with the steam for about 5-10 minutes. He is too hot and you can be easily burnt if you are too close to him.
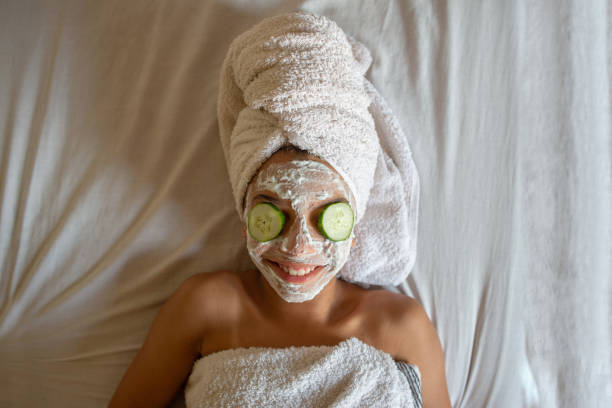
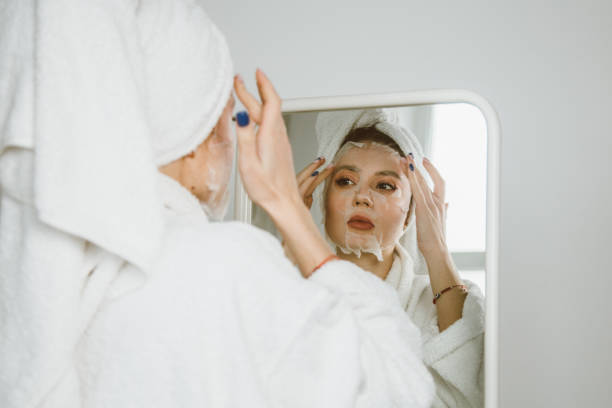
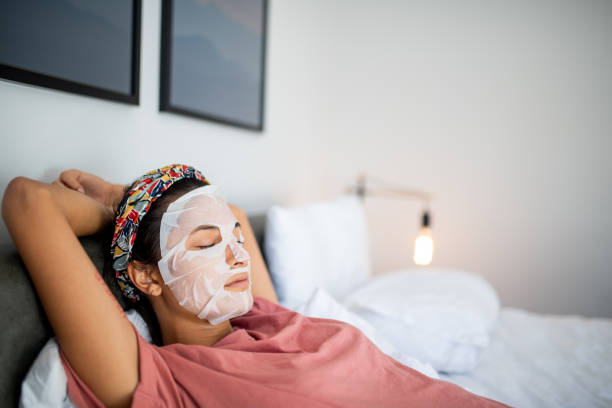
Step 6: Put On a Face Mask
Masks are typically formulated for specific skin issues; consequently, if you need your skin to look moist, smoother, or brighter, you can get a mask that will cater to your skin and fix what is wrong with it. A [commercial] can be purchased at a local store or you can create a [commercial] using natural materials. Here are a few simple DIY mask recipes:
- Hydrating Mask: To this, add 1 tablespoon of honey and 1 tablespoon of plain yogurt.
- Brightening Mask: Take 1 tablespoon of turmeric with 2 tablespoons of plain yogurt and two or three drops of lemon juice.
- Deep Cleansing Mask: Incorporation of bentonite clay, one tablespoon was mixed with water sufficient for a paste preparation.
- Spread the mask all over the face except the eyes. This should be done for 15-20 minutes; then rinse off with water that is lukewarm.
Step 7: Tone
Toning assists in bringing the pH level of your skin back to normal and also in washing out any remaining particles of the mask. Bring a piece of cotton and wet it with your most liked toner then rub it all over the face. For the toners avoid products containing alcohol and opt for the toners containing; witch hazel, rose water or chamomile.
Step 8: Apply Serum
Serums can be defined as concentrated treatments that target certain skin issues. Pick one base on what you want them to do—whether it is moisturizing using hyaluronic acid, lightening using vitamin C or control oil production using niacinamide. Take a few drops and spread it on the face; rub it around until it penetrates the skin.
Step 9: Moisturize
End all the previous steps with a good moisturizer appropriate for your skin type to lock in all the goodness. This aids in moisturizing the skin and forms what may be referred to as a skin lock. Gently massage the moisturizer up the length of your skin since this will enhance circulation and aid absorption.
Step 10: Extra – Facial Oil
To enhance the effect of the pores and skin brightness, apply facial oil in a couple of drops after the facial is completed. Depending on the particular type, you can wash with any type of oil, such as argan, jojoba, or rosehip. Rub the oil between your hands and then apply it on the affected area of the skin with your fingers.
Bonus Tips
- Regular Routine: The ideal time to carry out a do it yourself facial is at least once a week.
- Hydrate: Make sure that you take a lot of water all the day round to enhance the look of your skin from outside.
- Healthy Diet: It is recommended to have a proper balanced diet that consists of foods that are rich in fruits and vegetables and healthy fats which will be beneficial for the skin.
Conclusion
By following these steps, you are able to make a facial at home looking like a luxurious spa while making your skin look refreshed and glowing. Wishing all the best and wishing joy for those moments spent on self-care and the equally beautiful outcome.
Image Source: Getty images
People Also Read: Men’s Waxing: Full Back and Full Chest